

 We learned so much from the first pour and we were determined to make
sure the second and final cement pour went well. We had some additional
challenges with the pour in that the school year was quickly coming to a
close and Jasmine had professional commitments looming. We also had to
wait for the benches to cure in 30 days before they could be sealed
with a protective concrete sealant. All of this needed to be done
technically before the contract expired, at the end of June. Based on
our tight scheduling constraints, we decided to pour on Tuesday and then
de-mold on the Friday, May 17th the last Professional Development Day
of the year. This meant that the second de-molding day would sadly not have
students present. At this point however, we felt the process had been
celebrated and the important learning had been achieved. The actual
molds would not be altered in any way, so that part would not be a
surprise to the students. We wanted a second crack at the perfection of
the visual ideas, not to recreate the entire project.
We learned so much from the first pour and we were determined to make
sure the second and final cement pour went well. We had some additional
challenges with the pour in that the school year was quickly coming to a
close and Jasmine had professional commitments looming. We also had to
wait for the benches to cure in 30 days before they could be sealed
with a protective concrete sealant. All of this needed to be done
technically before the contract expired, at the end of June. Based on
our tight scheduling constraints, we decided to pour on Tuesday and then
de-mold on the Friday, May 17th the last Professional Development Day
of the year. This meant that the second de-molding day would sadly not have
students present. At this point however, we felt the process had been
celebrated and the important learning had been achieved. The actual
molds would not be altered in any way, so that part would not be a
surprise to the students. We wanted a second crack at the perfection of
the visual ideas, not to recreate the entire project.
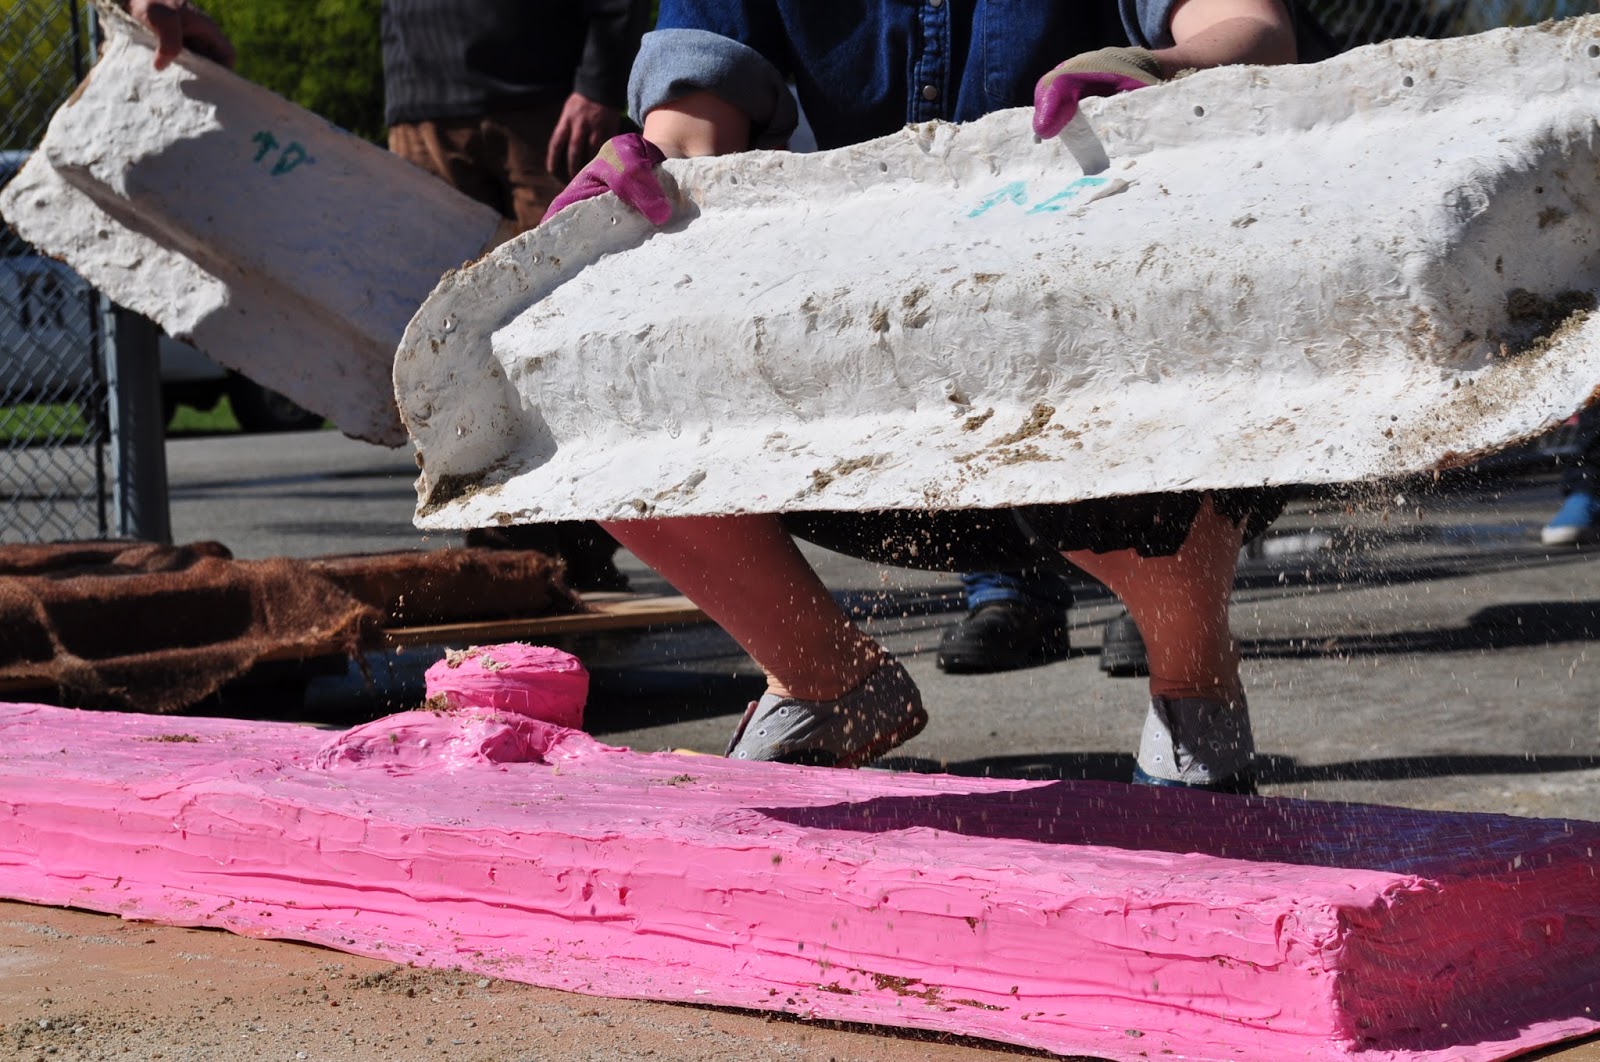
 We
did need a crew to help and our incredible grounds and
maintenance staff stepped up and came to our aid. They were fantastic
in that they came in strong numbers and cheerfully flipped, unbolted and
lifted the final pieces in the rain. I can't say how thankful
we were to them for their help. The results were truly fantastic - the
second time was the charm!
We
did need a crew to help and our incredible grounds and
maintenance staff stepped up and came to our aid. They were fantastic
in that they came in strong numbers and cheerfully flipped, unbolted and
lifted the final pieces in the rain. I can't say how thankful
we were to them for their help. The results were truly fantastic - the
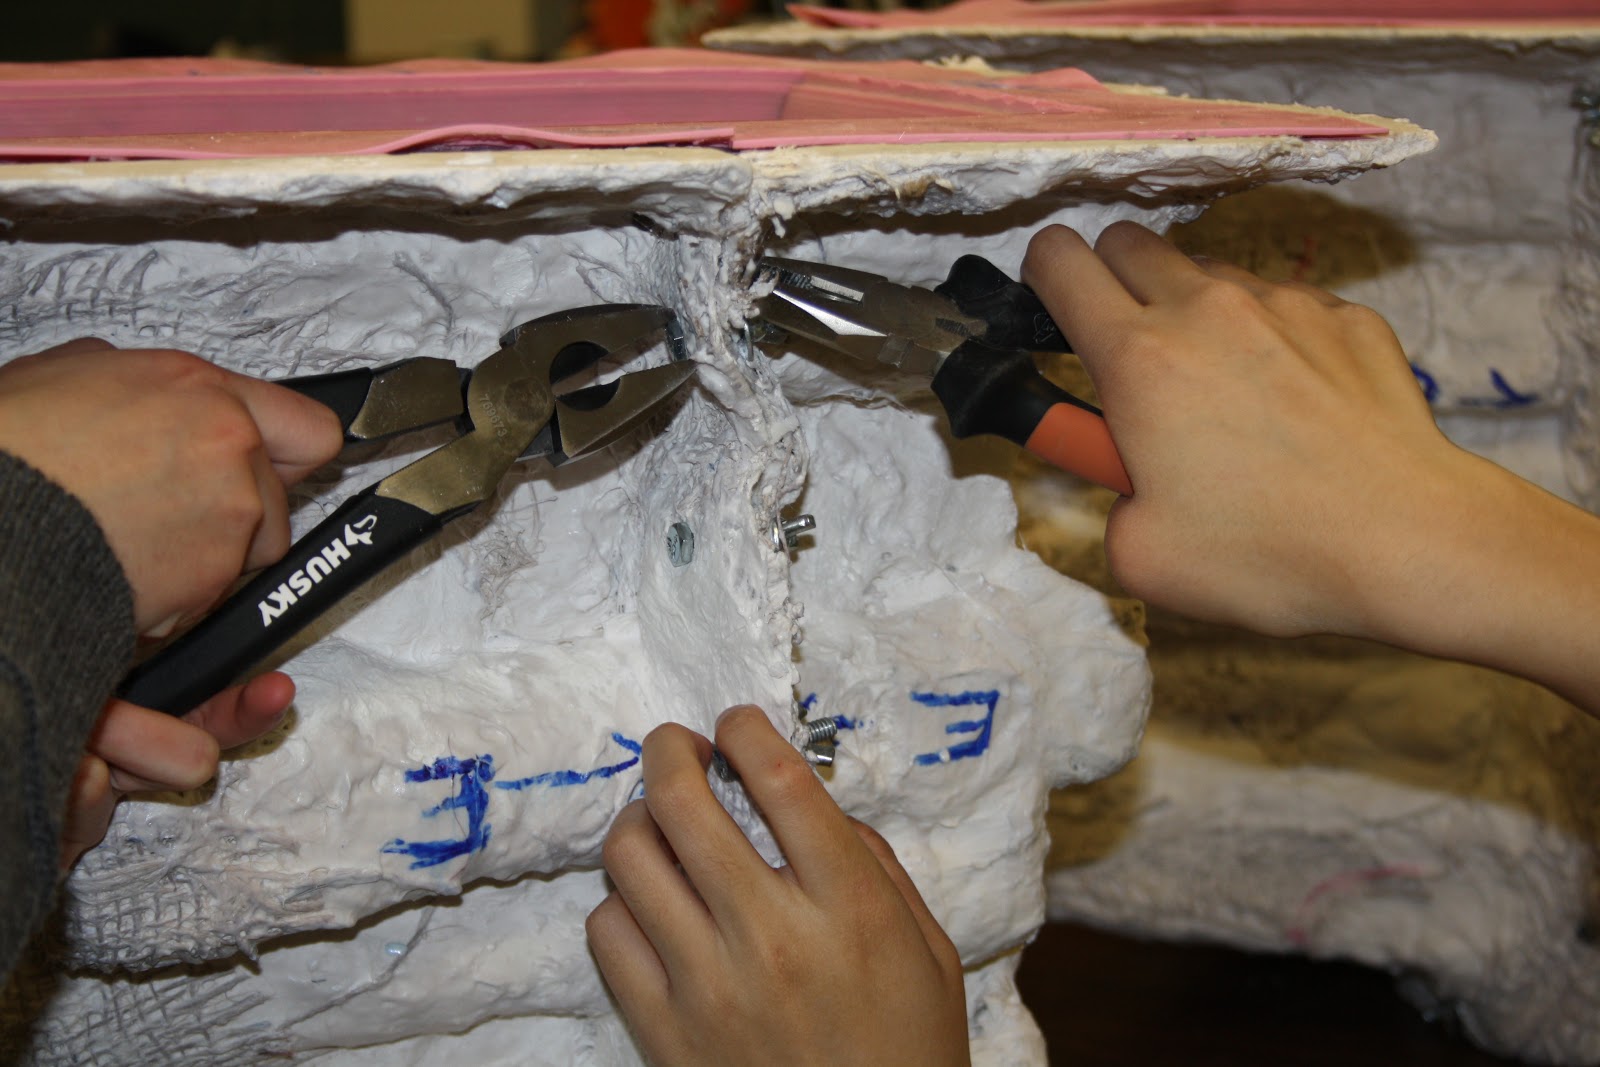
second time was the charm! So what did we do
differently? First of all we allowed an extra day for the pieces to
solidify along with the daily watering. The
weather was cooler and wetter this week which helped our cause. Jasmine
took all that she had learned from the various experts consulted and
hung the rebar without the use of the wooden planks across. The theory
was that the wood prevented the cement underneath from drying at the
same speed as the concrete surrounding it, causing the cracking. She also worked carefully to push the concrete into all the nooks and crannies in the book stack mold to avoid those pesky bubbles. She also gave the side of the mold a couple of whacks with a rubber mallet to agitate any remaining bubbles away from the edges and up to the surface.
So what did we do
differently? First of all we allowed an extra day for the pieces to
solidify along with the daily watering. The
weather was cooler and wetter this week which helped our cause. Jasmine
took all that she had learned from the various experts consulted and
hung the rebar without the use of the wooden planks across. The theory
was that the wood prevented the cement underneath from drying at the
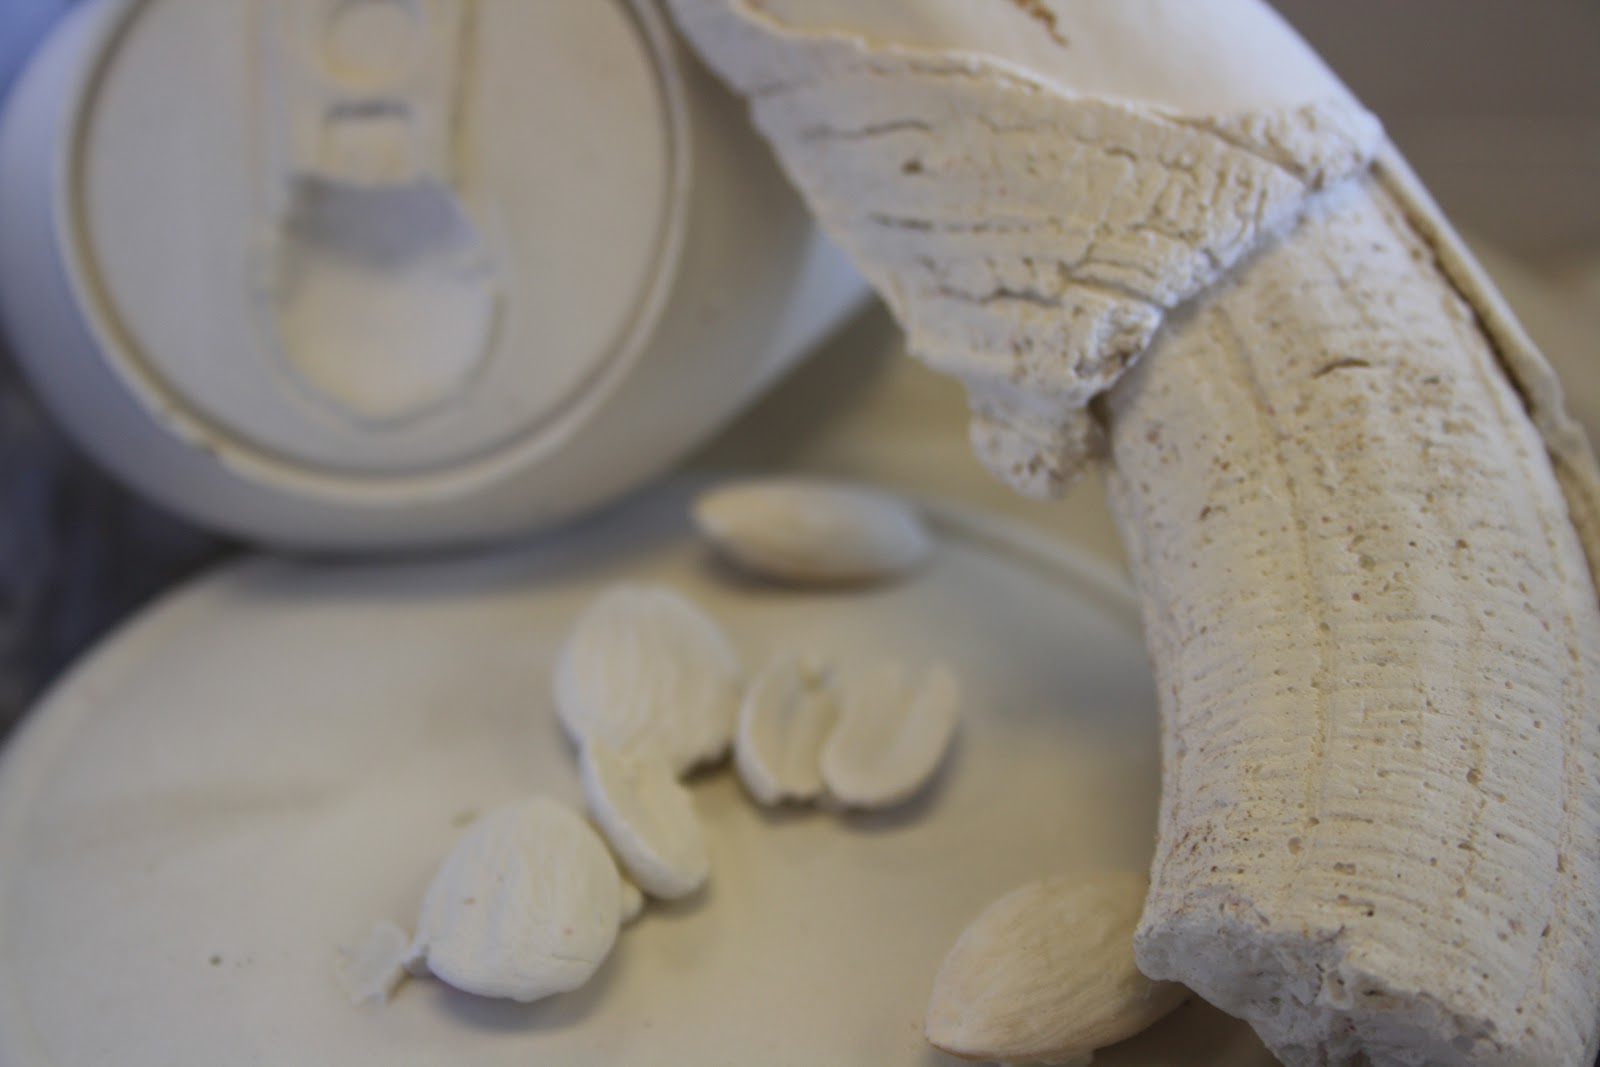
same speed as the concrete surrounding it, causing the cracking. She also worked carefully to push the concrete into all the nooks and crannies in the book stack mold to avoid those pesky bubbles. She also gave the side of the mold a couple of whacks with a rubber mallet to agitate any remaining bubbles away from the edges and up to the surface.We all held our breath when the de-molding began. What we found cheered us beyond belief. Everything was better. The detail was better. The bubbles in the book stacks were greatly diminished. Even the pop can came out intact (Jasmine cut it out this time to be sure). And best and most importantly of all, there was not a single crack to be found. Each and every bench was perfectly structurally intact. Now all we had to do was wait for the cement to cure and be sealed. After that, we could get to the work of installation.


